Can You Install macOS on Any Computer?
Installing macOS on a non-Apple computer, known as making a “Hackintosh,” is possible but complicated. It involves choosing the right parts, using special software, and having good technical knowledge to get around Apple’s restrictions.
Even if you get it working, you might face issues like poor performance, missing features, or problems when macOS gets updated. Plus, Apple’s rules don’t allow macOS to run on non-Apple hardware, which makes this practice legally questionable.
Macs are known for their smooth and reliable experience because Apple designs both the hardware and software to work perfectly together. Features like iCloud, AirDrop, and Sidecar work best on genuine Macs and often don’t function well on Hackintosh setups.
While building a Hackintosh might seem fun or cheaper, it usually takes a lot of time and effort. In the end, the seamless experience, durability, and better resale value of real Macs are hard to beat.
Keep reading our article till the end to know how you can install it.
Difference Between Normal Computers and Macs(MacBooks)
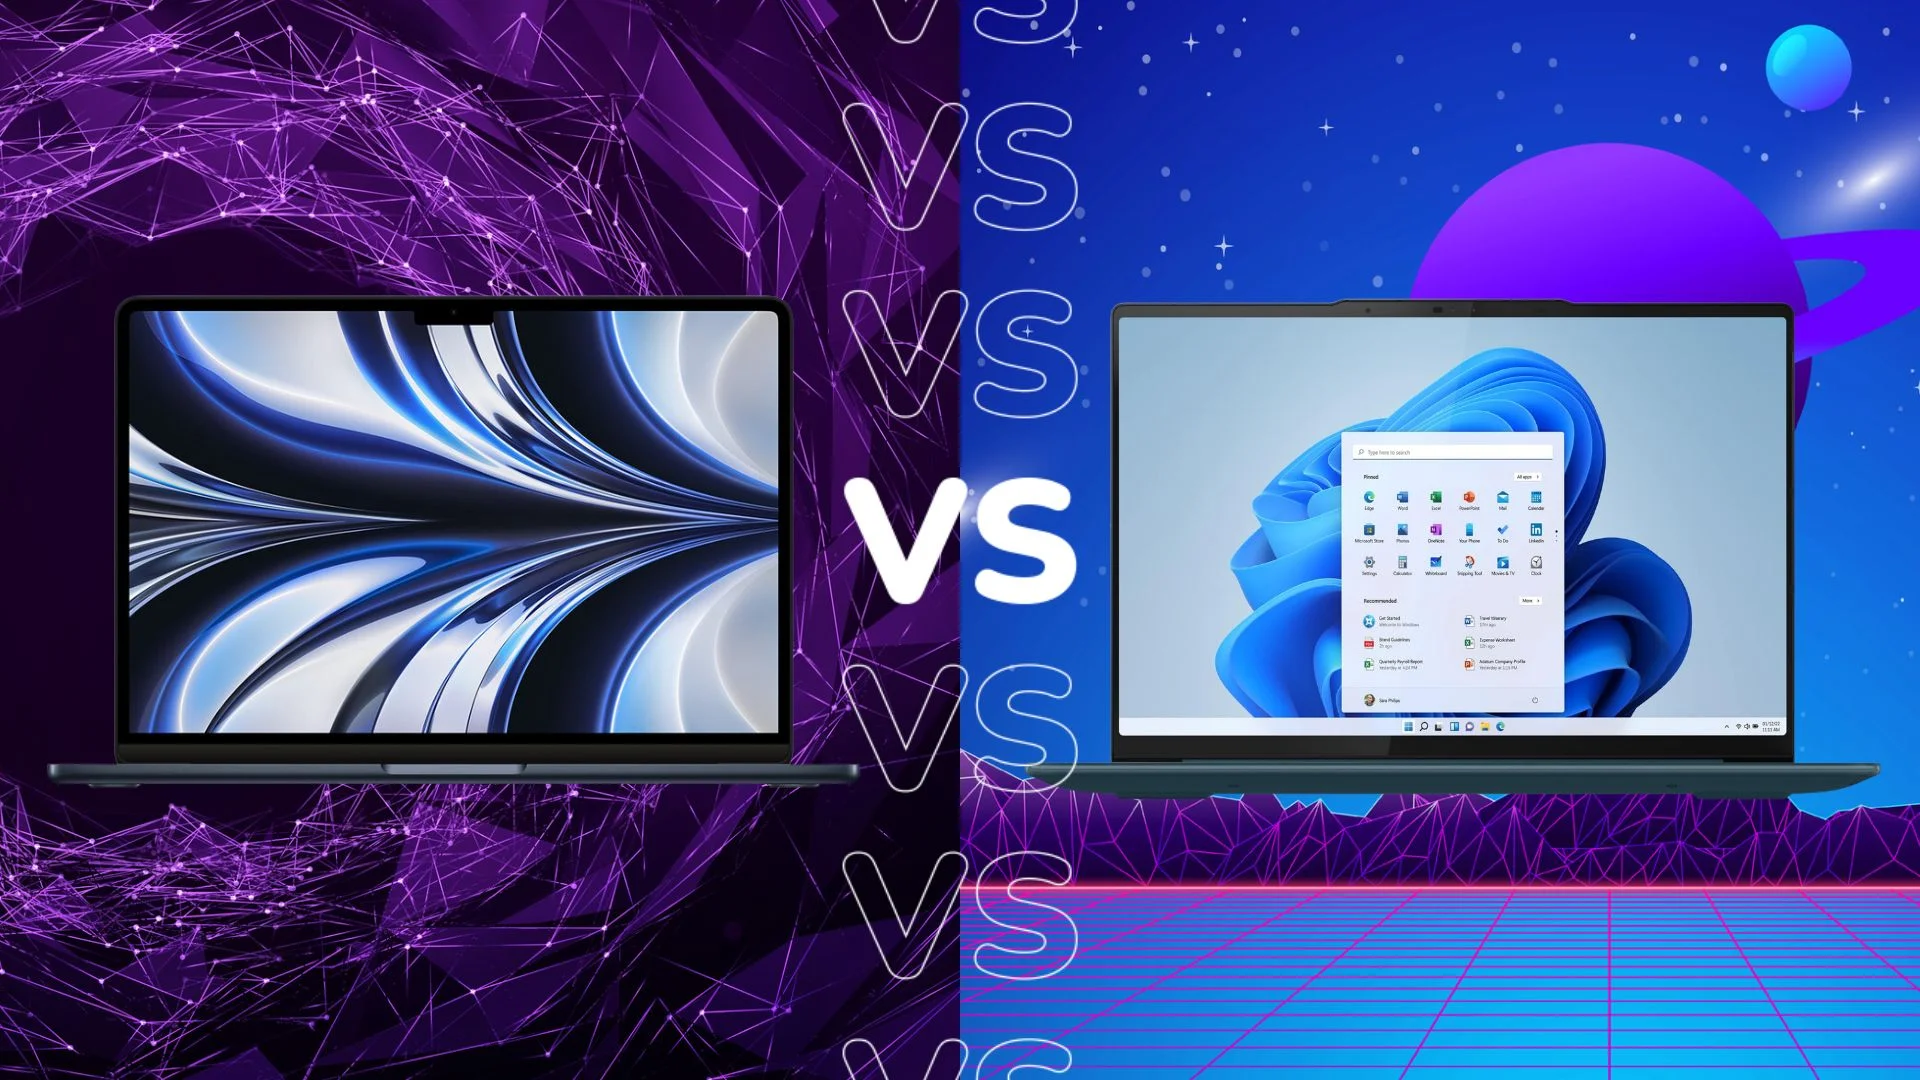
When choosing between a typical PC and a Mac, several key differences can influence your decision. Here’s a detailed comparison to help you understand what sets them apart:
1. Operating System
PCs: Typically run Windows, an operating system known for its broad compatibility with a wide range of software and hardware. Windows supports a vast array of applications, including many gaming and business programs.
MacBooks: Use macOS, Apple’s operating system, which is known for its sleek interface and seamless integration with other Apple products. macOS is often praised for its stability, security, and optimized performance.
2. Hardware and Design
PCs: Offer a wide variety of hardware configurations from different manufacturers, providing flexibility in terms of performance and pricing. PCs come in various forms, including desktops and laptops, with diverse design aesthetics and performance capabilities.
MacBooks: Designed and manufactured exclusively by Apple, MacBooks feature a premium build quality with a focus on aesthetics and durability. Apple controls both the hardware and software, ensuring a cohesive and optimized user experience.
3. Software Compatibility
PCs: Provide broad compatibility with a wide range of third-party software, including many industry-standard applications. This flexibility is beneficial for users who require specific programs or games.
MacBooks: While macOS has a strong ecosystem of apps, some software, particularly specialized or niche applications, may be less available or require alternatives. However, macOS supports many popular programs and has a robust App Store.
4. Customizability
PCs: Highly customizable, especially desktops. Users can upgrade components like RAM, storage, and graphics cards, tailoring the machine to specific needs or budgets.
MacBooks: Less customizable. Most components are integrated and not user-replaceable or upgradeable. This means you need to choose the right configuration at the time of purchase.
5. Security
PCs: Historically more prone to viruses and malware, though modern Windows versions have improved security features. Regular updates and good security practices can mitigate risks.
MacBooks: macOS is known for its strong security features and lower incidence of malware. Apple’s controlled ecosystem and frequent updates contribute to a more secure environment.
6. Ecosystem Integration
PCs: Integrate well with a wide range of devices and services. While integration with specific brands or ecosystems (like Microsoft or Google) can be strong, it’s often less seamless compared to Apple.
MacBooks: Offer excellent integration with other Apple devices like iPhones and iPads, thanks to features like Handoff, AirDrop, and iCloud. This ecosystem can enhance productivity for users with multiple Apple products.
7. Price
PCs: Available at a wide range of price points, from budget to high-end. This variability allows users to find a machine that fits their needs and budget.
MacBooks: Generally positioned in the premium price range. The higher cost is often justified by the build quality, design, and the macOS experience, but it may not fit every budget.
In summary, the choice between a PC and a MacBook largely depends on your specific needs, preferences, and budget. PCs offer flexibility and broad compatibility, while MacBooks provide a polished and cohesive experience within Apple’s ecosystem.
Now coming to our main point how to install mac on non macbook laptop
Detailed Guide: Installing macOS on a Non-MacBook Laptop
1. Choosing the Right Hardware
- CPU: Intel processors, especially those from the Haswell, Skylake, Kaby Lake, and Coffee Lake series, are the most compatible with macOS. Newer generations like Comet Lake and Alder Lake can also work but may require additional tweaks. If you plan to use an AMD CPU, be prepared for more complex setup steps as AMD Hackintoshes require kernel patches.
- Motherboard: A motherboard that supports UEFI is highly recommended. Avoid laptops with locked-down BIOS settings as they can limit the ability to configure necessary settings for macOS.
- Graphics Card (GPU): Integrated Intel HD Graphics (from Ivy Bridge and newer) are generally supported natively. For discrete GPUs, NVIDIA cards up to the 10xx series are supported with additional drivers (NVIDIA Web Drivers), while certain AMD cards like the RX 580 and newer are supported natively.
- Wi-Fi and Ethernet: Many Wi-Fi cards in laptops aren’t supported by macOS. You might need to replace the internal Wi-Fi card with a compatible one (like the Broadcom BCM94352Z) or use a USB Wi-Fi dongle. Ethernet adapters are typically easier to configure.
- Storage: An SSD is preferred for macOS installations due to better performance. NVMe drives may need additional kexts for full functionality.
2. Prepare Your Environment
- Backup Your Data: Before you begin, back up all important data on your laptop. The installation process may involve partitioning and formatting drives, which can result in data loss.
- Access to a Mac: You’ll need a Mac or a Hackintosh to download macOS and create the bootable USB installer. If you don’t have access to one, consider using a virtual machine running macOS.
3. Download macOS
- Get the Installer: On your Mac or Hackintosh, download the latest version of macOS from the Mac App Store. If you’re installing an older version, you can download it directly from Apple’s website or find a reliable source online.
- Tools Needed: Download UniBeast, a tool that helps create a bootable macOS USB installer specifically for Hackintosh. You’ll also need MultiBeast for post-installation setup.
4. Create a Bootable USB Installer
- Format the USB Drive: Plug in a USB drive (at least 16GB) and format it using Disk Utility on your Mac. Select the “GUID Partition Map” and format the drive as “Mac OS Extended (Journaled).”
- Use UniBeast: Open UniBeast and select the macOS version you downloaded. Follow the prompts to create the bootable installer. During the process, you’ll need to choose your laptop’s configuration, such as UEFI Boot Mode, and select any relevant options like Intel graphics support.
- Add Essential Files: After UniBeast completes, navigate to the EFI partition on your USB drive and add necessary (drivers) and configuration files, such as Clover bootloader settings. You can find these files on Hackintosh forums or sites like tonymacx86 and Hackintosher.
5. Configure Your Laptop’s BIOS/UEFI
- Access BIOS/UEFI: Reboot your laptop and press the BIOS key (commonly F2, F10, Delete, or Esc) to enter the BIOS/UEFI settings.
- Adjust Key Settings:
- Disable Secure Boot: Secure Boot prevents unauthorized operating systems from loading, so it must be disabled.
- Enable AHCI Mode: Set the SATA mode to AHCI instead of RAID to avoid issues with disk recognition.
- Enable UEFI Boot: If available, enable UEFI boot mode instead of Legacy, as macOS prefers UEFI.
- Disable Fast Boot: Fast Boot can cause problems during the installation process, so it’s safer to disable it.
- Set USB as First Boot Device
: Ensure your USB drive is set as the primary boot device so your laptop will boot from the macOS installer.
6. Install macOS
- Boot from USB: With the USB installer plugged in, restart your laptop and boot from the USB drive. You should see the Clover bootloader screen, where you can select the macOS installer.
- Format Your Drive: Use Disk Utility within the macOS installer to format the target drive for macOS. Choose “APFS” for the format and ensure it’s using the “GUID Partition Map.”
- Begin Installation: Follow the on-screen prompts to install macOS. This process can take 20-30 minutes, and your laptop may restart several times.
- Boot into macOS: After installation, reboot and select the macOS partition from the Clover bootloader to start macOS for the first time.
7. Post-Installation Setup
- MultiBeast Configuration: After macOS boots successfully, run MultiBeast to install necessary drivers () for your hardware. This includes audio, network, and other peripherals. MultiBeast also installs the Clover bootloader to your laptop’s hard drive, so you won’t need the USB drive to boot anymore.
- Install Additional : You might need to install additional manually for full hardware compatibility. Common include:
- Lilu.kext: A general-purpose to enable others .
- WhateverGreen.kext: For GPU compatibility.
- AppleALC.kext: For audio support.
- VoodooPS2Controller.kext: For keyboard and trackpad functionality.
- Configure Clover: Use Clover Configurator to edit your Clover configuration file (config.plist) for settings like SMBIOS, boot arguments, and other system parameters.
8. Troubleshooting and Optimization
- Troubleshooting Boot Issues: If macOS doesn’t boot, try booting in verbose mode (add -v to boot arguments) to see detailed error messages. This can help identify issues like missing or incorrect boot flags.
- Fixing Audio and Network: If audio or network isn’t working, check that the correct are installed and configured properly. Some laptops require additional patches or DSDT/SSDT edits for full functionality.
- Power Management: To ensure proper battery management and sleep functionality, install kexts like ACPIBatteryManager.kext and apply any necessary patches to your DSDT/SSDT files.
- Updating macOS: When Apple releases macOS updates, it’s important to check compatibility before updating. Minor updates usually don’t cause issues, but major version upgrades might require updated or bootloader settings.
9. Final Checks
- System Stability: Test your Hackintosh thoroughly to ensure it’s stable. Run stress tests, check for kernel panics, and verify that all hardware components are functioning as expected.
- Backup Your Configuration: Once everything is working, back up your EFI folder and configuration files to avoid having to redo work if something goes wrong in the future.
- Community Support: Engage with Hackintosh communities on forums like tonymacx86 or Reddit’s r/hackintosh for support, troubleshooting, and tips on optimizing your setup.
- hackintosh is similar to PowerISO, which is used to make a pendrive bootable for Unix, and Windows
Conclusion
Creating a Hackintosh on a non-MacBook laptop is a challenging but rewarding project for tech enthusiasts. It requires attention to detail, patience, and a willingness to troubleshoot. While it’s possible to achieve a near-native macOS experience, remember that it may not be perfect, and some features might not work as seamlessly as on genuine Apple hardware. Always proceed with caution and make sure you have backups of your data and configuration files.
If you want to get any other problem solved, please stay tuned with us by subscribing with your email.
